There is no denying that archery is one of the most enjoyable sports. However, like every other sport, it can also cause pain and injury to your body parts. And in this case, your fingers are the most vulnerable to damage as they play a vital role while shooting an arrow. Bowstring abrasion and soreness are pretty common for archers.
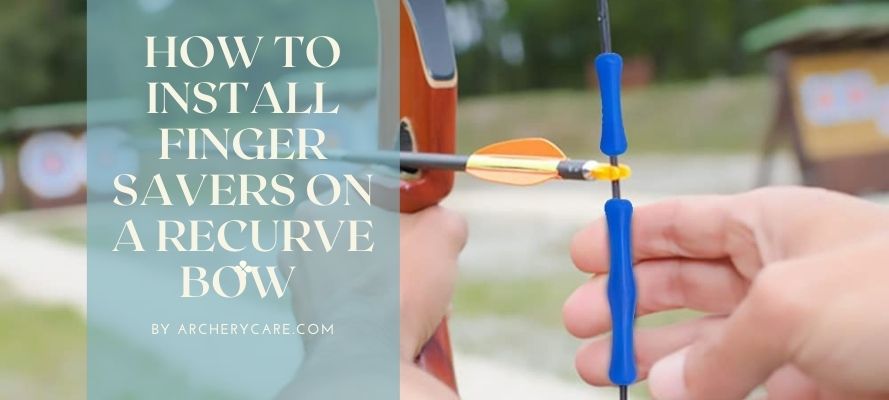
Over time, experts have invented many ways to prevent these problems. The finger savers are the simplest and most useful among them. Finger savers are a pair of soft silicone-made rubber tubes that will fit your fingertips. You have to place them over your bowstring, one below the nocking point and the other above it.
They will guard your fingers against all the wearing and tearing during shooting. This is a pure blessing for new archers and younger learners.
Table of Contents
Advantages Of Using Finger Savers
Before jumping on the installation process, let's go through all the beneficial aspects the finger savers have to offer.
1. Functionality: The finger savers provide safety and functionality at the same time. As they are silicone-made, they are soft and strong enough to provide your fingers with cushioning while shooting. You can also use them while hunting and bow fishing.
2. One-time installation: If you use a finger tab or hand gloves, you'll have to put them on every time before shooting. Whereas the finger savers require one-time installation and that's it. From that moment on, they will always keep your fingers protected.
3. Sweat prevention: With hand gloves, your hands are bound to be sweaty. Which is irritating to the last degree. Install the finger saver once and say goodbye to sweaty hands forever.
4. Cost-effective: The finger savers come at a very affordable price. The fact that you get all the incredible features at such a low price makes it better than any other finger guard available on the marketplace.
5 Steps To Install Finger Savers on A Recurve Bow
While the other finger guards like shooting gloves and finger tabs are easy to put on, installing a finger saver is a little bit tricky and time-consuming.
But you don't have to worry about it as the process is very easy and we are here to provide you with the step-by-step procedure to installing finger savers. So without further ado, let's get into it.
Step 1
Make sure you buy a good quality finger saver from a well-known brand. Once you got them on hand, don't make the mistake of boiling them as boiling makes the rubber porous. We'll use bow wax instead.
Step 2
To install the finger saver, you have to remove the string from your recurve bow. If you haven't assembled the bow yet, you can start from the get-go.
Step 3
As you got the string in your hands, you've to identify the top and bottom of the string now. This is important to set the finger savers on correct orientation. Check the end loops, the larger one will be the top and the smaller one will be the bottom of the string.
Step 4
After identification, now it's time to install the first finger saver. A good-quality finger saver will ship with an installation clip. Place the clip on the smaller end loop and hold it closed. Now, apply some bow wax on the string and take the broader portion of the finger saver and slide it over the installation clip.
Step 5
Use pliers for a better grip on the clip and pull the finger saver till you reach below the nocking point. Repeat the same process for installing the other finger saver.
Once you've both the finger saver installed, remove the installation clip. After installing the finger savers, install the string with the bow and you're ready to shoot!

Related Posts for Recurve Bow Users: