No matter how good the string that you have bought from the archery shop is, it will meet the end of its lifespan at some point. And if you have been into archery for long enough, you probably have already gone through multiple restringing on your bow.
But what if we told you that you no longer need to purchase a bowstring? Yes, you just read that correctly! It is undoubtedly possible to build your bowstring.
All you need to do is learn how to make a string for a longbow. Now, you might think the steps will not be worth going through.
Well, you would be pretty wrong in that regard. The steps are pretty easy! Allow us to prove that to you!
Table of Contents
Making A Bow String For A Longbow In The Easy Way
There is no need to go through tedious steps when making a longbow string. The following easy to follow, simple steps will get you started -
Step 1: Get the Right Materials
The first step of making a longbow string would be to get the right materials for the project. Fret not; you do not have to work with too many tools.
Take a look at the list :
- A Drilling Machine
- A sharp tool, preferably a knife or a pair of scissors
- Clamp or vice
- Strands of the string material
For the string material, you can use a range of different traditional materials. That includes vegetable fibers, linen, hemp, rawhide, nylon paracord, and silk.
However, using the nylon paracord for the string material would be a good idea. It is reasonably durable and should be strong enough to offer a proper draw weight.
Nonetheless, for this process, you will need at least two pieces of string. A single strand of the string will not be capable of making your bow function like a bow. In simpler words, one strand will be too weak.
Step 2: Prepare the String
Once you got all the things that you will need for this process of making a longbow string, you need to work with the string.
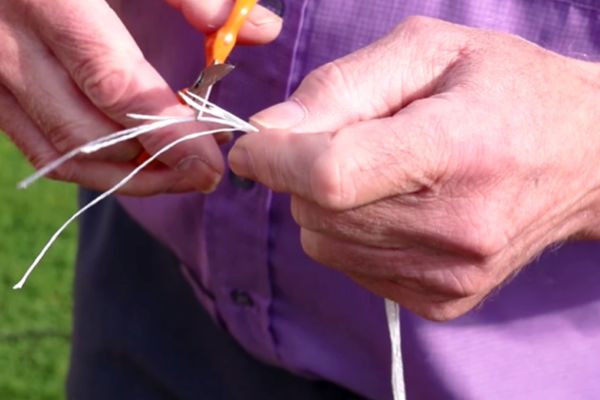
In this step, you should basically cut the string material with a knife or a pair of scissors. The string should be about two inches longer than the bow you are working with.
Getting the string size is pretty crucial. If you do not know the length of your bow, you can refer to the AMO label. It should be right around the handle or the endpoints of the bow.
It’s recommended that you should deduct three inches from the AMO length to determine the length of the string.

For example, if the AMO label states 58 inches, the string length for that specific bow will be 55 inches. Cut the string material according to this measurement.
Step 3: Tie the Strands of the String
After prepping the string material, you need to make a knot. This knot will be on one of the endpoints of the string.
And the purpose of this knot would be to hold the string material in place while you are converting it into a bowstring.
So, ensure that the knot is pretty solid and does not let the material separate into different layers.
Step 4: Put the String into the Vice
At this step you should secure the knot that you have just made on the vice. Now, while putting the string material on the vice, ensure that the clamps are correctly gripping onto the knot.
If not, the string will come right off when you work on it in the next steps.
In other words, double-check the tightness of the vice. Do a pull test if you have to. Once you have ensured that, move along to the next step.
Step 5: Set the Drill Up
Gently stretch the string and make the two ends (or more if you are working with multiple strands) of the string material meet. Put these ends inside the drill.
It would be a good idea to make another knot on this end. That will enable you to easily put the string material get into the drill head and stay there when you turn the drill on.
Step 6: Operate the Drill
When it comes to operating the drill, you need to keep two things in your mind. First, the string that you will end up with should not curl up when you remove it from the vice clamps. And Secondly, it should be too loose that the string does not have the right tension.
Step 7: Tie a Knot If You Have Not Already and Unclamp the Vice
If you did not make the knot when attaching the string material to the head of the drill, now would be the time.
Release the ends from the drill and make a knot on that end. Ensure that the knot is tight enough to hold the string in place.
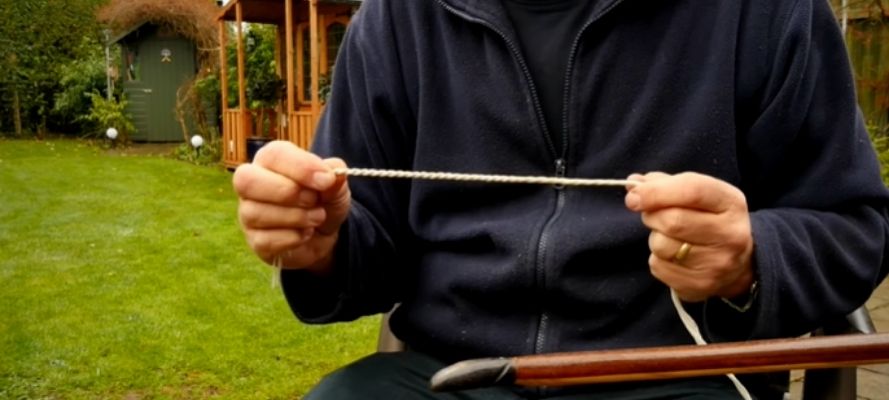
Afterward, you can unclamp the other end from the vice. While doing so, you should be capable of understanding whether the string has ended up being too loose or too tight. It will curl up if you have gone too far with the drill.

On the other hand, you will be capable of seeing each string material separate from one another if the string is too loose.
Step 8: Tie a Loop
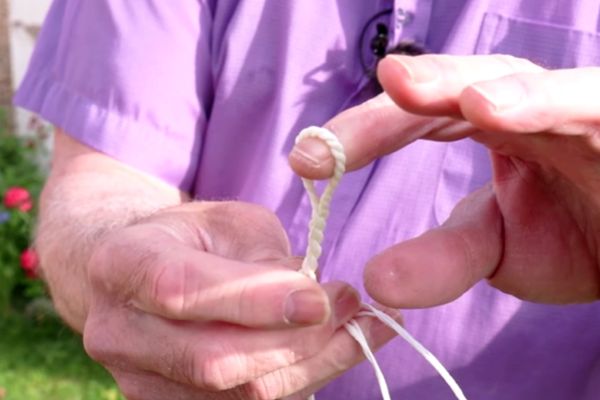
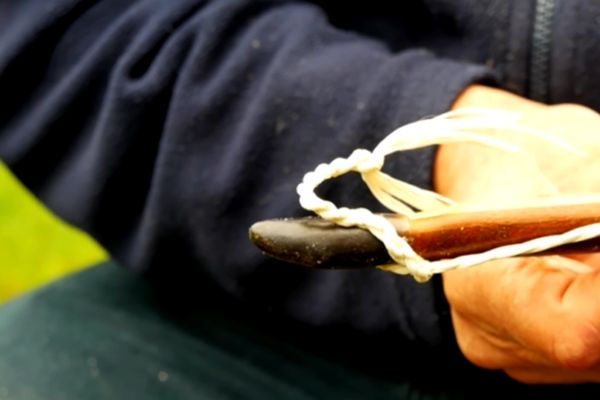
The string is pretty much done at this point. Now, to get it on the bow, you will need to make the loops that you generally find on the store-brought strings.
When it comes to tying this loop, consider the grooves and the thickness of the tip of the bow.

Step 9: Test Out the New Bowstring
Put the string on the bow and test it out. See if the draw weight seems okay or not. Also, see if the tension on the string is correct or not by taking a few shots at a target.
What Should You Do To Enhance the Longevity of Bowstring?
Usually, the bowstrings will last around three years. However, if you do not take proper care of the string, it will not even reach close to three years. So, how do you take care of a bowstring?
Firstly, you should consider using bowstring wax. It will hinder the string from wearing out too soon.
Basically, it will put a thin coating on the string and keep it soft, flexible, and, most importantly, dry. The wax will also play a huge role in preventing frays on the string.
Secondly, you should never dry fire the bow. Dry firing does not only put damage the string but also the other parts of the longbow. So, do not fire or draw the bow when there is no arrow on the string.
And finally, when you are storing the longbow, consider unstringing. It will not only release the tension on the string but also on the bow.
Eventually, you will not have to worry about structural issues occurring on the bow if you store it unstrung.
Final Words
We hope that, at this point, you realize it's not difficult to learn how to make a string for a longbow. You just have to go through the steps correctly and ensure that the line you end up with is not too tight or loose.
Related Articles:

