The longbows are one of the most primitive yet highly iconic bows an archer can have in their arsenal. However, having this legendary weapon is one thing, and knowing how to use it properly is another. Do not get us wrong; learning how to shoot a longbow is not hard.
You just need to know the proper longbow shooting techniques and tricks to master the weapon. So, where do you get to know about those?
Well, that is where we step in. Thanks to our years of experience and extremely honed longbow shooting skills, we can make the process a piece of cake for you!
6 Steps Guide To Shoot A Longbow Accurately
Before we get to the steps, you should note that we will focus on the right-hand shooters on this guide.
So, if you are left hander, you just have to mirror the process. With that out of the way, let us dive into the steps
Step 1: Get Your Stance Right
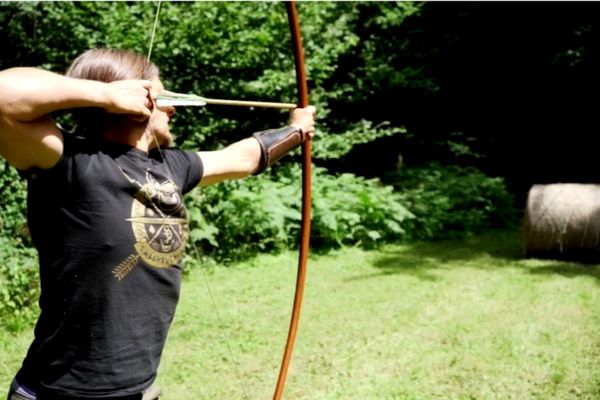
The most crucial step to shoot a longbow for beginners would be to get to the correct stance. You will need to start by facing 90 degrees to the target.
Keep your feet in such a position that they are shoulder-width apart. Also, you should keep your head centered while you are standing upright. Regarding body weight, the two feet should have an even distribution.
Keep your feet in such a position that they are shoulder-width apart. Also, you should keep your head centered while you are standing upright. Regarding body weight, the two feet should have an even distribution.
One recommendation for beginners would be to get into an open stance by rotating the left foot a little towards the target. That will help you to get the stance correct and allow you to ace the longbow target shooting session.
Step 2: Focus on the Grip
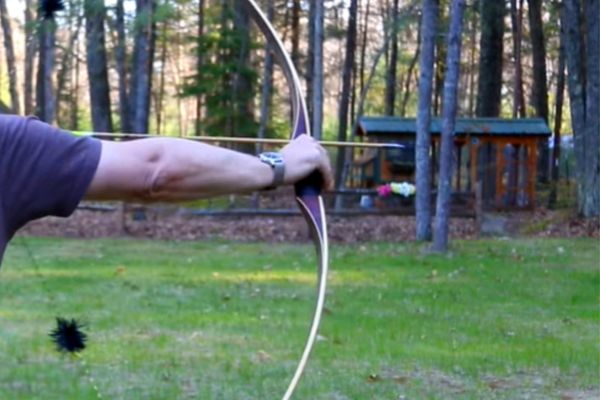
No longbow shooting technique can be done right without knowing how to hold the longbow. Basically, you have to hold the bow with your left hand. Place the dish part of the handle in the webbing between your index finger and thumb.
Shooting a traditional longbow becomes more manageable if you get the hang of the grip. But trial and error is the key.
So, start with a lighter grip. Make your palm rest right on the section that is below the thumb. Then, lightly wrap the fingers around the handle.
You will need to keep your knuckles at about 45 degrees. And remember, you do not want to get a too-tight grip on the bow because it will hinder you from shooting a longbow accurately.
Step 3: Finger and Arrow Placement
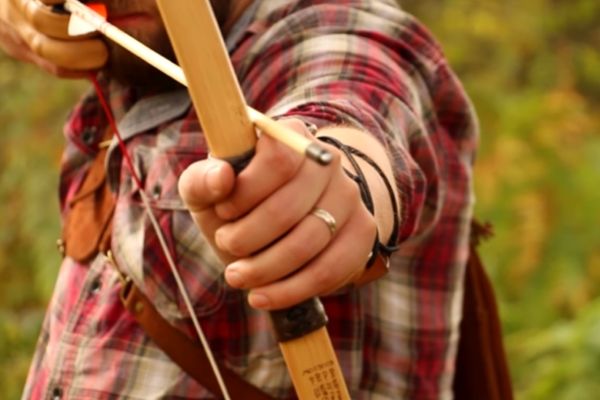
Another crucial part of shooting a longbow is the finger and arrow placement. You will need to hold the bow approximately at your waist level.
Using your right hand, hold the arrow. It should be eight inches away from the nock end. Then, rotate the shaft in such a way that the feather is pointing away from the riser.
Afterward, you will need to snap the throat of the nock on the stringer that is right under the brass string nock locator.
Then, position the three fingers of your right hand on the string. The index finger will be right above the nock, while the ring finger and middle finger will be below the nock.
Keep the fingers on the string and keep them just in front of the first joint. They should be about 90 degrees to the line.
Step 4: Draw
For traditional longbow shooting, the draw step will dictate whether your arrow will reach your target or not. That is why you must nail this step when learning how to shoot a longbow.
Nonetheless, you will need to raise the bow vertically for the draw sequence.
Keep the elbow of the bow arm rotated. It should be pointing straight down when you are drawing the bow. Keeping the drawing arm parallel to the arrow, you should position your upward.
You need to keep two methods you can follow when drawing. The first method is keeping everything in line when you draw back.
And the second one is called a rotational draw. It utilizes much of the back muscles when you are drawing. You will also need to rotate the elbow while keeping it at the same height. Our tip for this case would be the stick with the rotational draw.
Step 5: Anchor
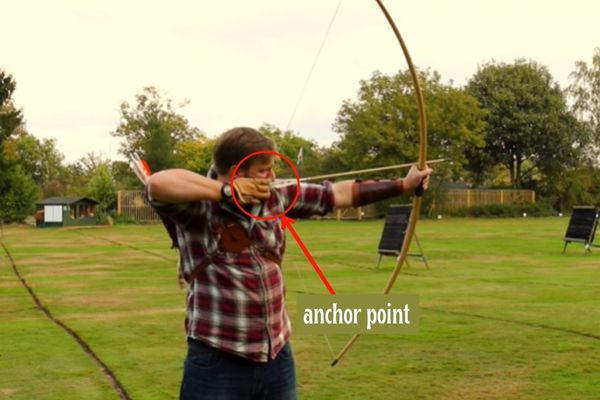
In learning how to shoot a longbow instinctively, you should have a proper idea of the anchor point. Basically, it is the reference point where the draw sequence ends.
There are different anchor points. But when it comes to which one works the best for you, you need to try them all out and check which one you are more comfortable with.
Nonetheless, the most common one is the side anchor. It is where you need to tuck the index finger into the corner of your mouth.
However, there is a problem with this anchor point. That is, the corner of your mouth has soft tissues which move.
So, instead of the mouth, end the drawing sequence on a hard bone. For example, the tooth that is right below your eye.
Step 6: Release
When you have reached the anchor point, you will need to focus on the spot that you want to hit with the arrow. Here, you will need to rely on your sighting method.
And no matter which sighting method you rely on, you should not focus on the target for more than a few seconds. Otherwise, your aim will be off.
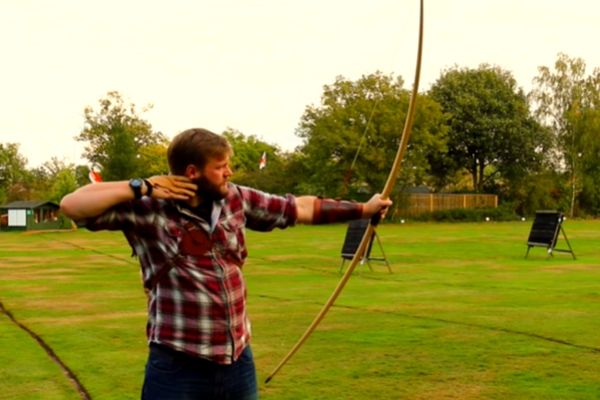
Once you have the aim right, all you need to do is release the arrow. The release sequence basically involves you relaxing the fingers and letting go of the string.
Finally, ensure not to make any unnatural movements after the release. If so, you will not be capable of following through after the shot.
Frequently Asked Questions
How fast does a longbow shoot?
When it comes to how fast a longbow can shoot, it will depend on the weight of the arrows. Generally, it will take the arrows a second to reach a target that is 90 meters away. And if you practice with different arrows, you can master the art of longbow speed shooting.
How long can a longbow shoot?
The current record that is from an archer shooting an English longbow is 412.82 meters. This archer is from Hungary and goes by the name Jószef Mónus.
How long to wait after shooting deer with bow?
You basically need to stay in the release stance until the arrow hits the target. That will enable you to follow the shot and be ready for the next shot if needed.
Final Words
See? Learning how to shoot a longbow is pretty manageable. You just need to get your stance right and learn the basics. And, of course, with enough practice, you will be capable of mastering the shooting process in no time at all!
Check Out Related Guides:

