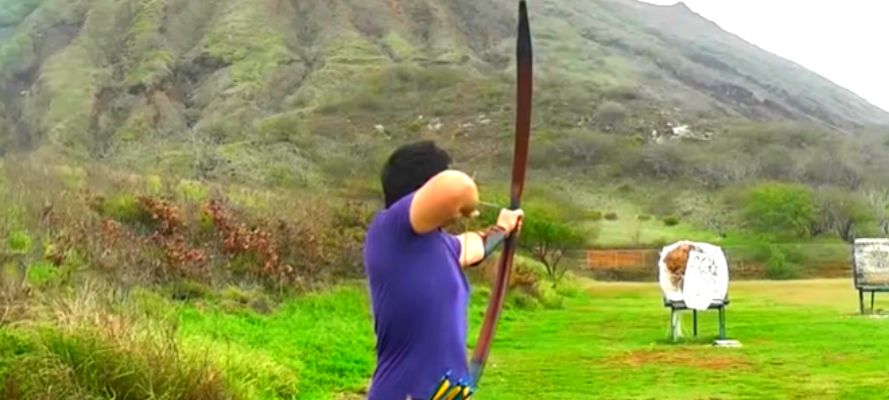
Having archery skills is not vital for survival. It can also lead to you having a fun-filled time on outdoors. Not to mention archery is proven to be highly effective for hunting.
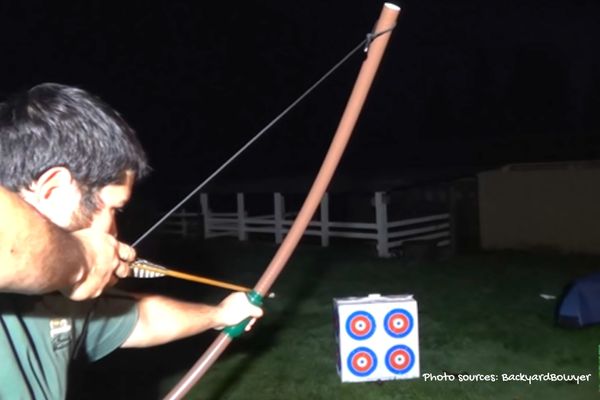
Unlike any other weapons for hunting or target shooting, there is really no need to spend too much money to get a bow. For example, you can learn how to make a PVC longbow using PVC pipes lying around your home or on a construction site.
Yes, that is indeed possible! Want to know the steps? Well, you are in for a treat! We have compiled the most straightforward steps for making a PVC longbow below!
Table of Contents
7 Steps Of Making A Longbow Out Of PVC Pipe
The process takes a small amount of time and effort. And the best thing about the project is that you will not need to work with many materials.
So, let’s not waste any more of your time and get right into the steps!
Step 1: Acquire the Right Materials
For this pvc longbow making project, you will need a few more materials other than the PVC pipe. Here is a list of all the things that you need -
- A length of PVC pipe
- Hacksaw
- Duct tape
- 2 fiberglass rods
- Heater hose
- Black marker
- Self-sticking medical wrap
- Bowstring or paracord
- Scratch awl
Among these, the PVC pipe must be at least 5 feet long. Typically, you would want something that is 6 feet or higher.
But such a long pipe may not be that easy to get your hands on. So, a five-foot-long pipe that is five feet long and ¾ inches in diameter pipe will be good enough.
Additionally, for the paracord or bowstring, you need to get something that is at least 56 inches in length. A longer bowstring will not be a problem, as you can simply cut it.
But do not get a string that is shorter than 56 inches for this project. In fact, that is the required length of bow string for a pipe that is five feet long.
Furthermore, you will need a heater hose that is about 5/8 inches long. Lastly, the fiberglass rods need to be 5 feet in length.
These might be a little hard to find in your home. However, if you head over to any home improvement or hardware shop, you will be capable of getting them without any issues at all.
Step 2: Prepare the Pipe
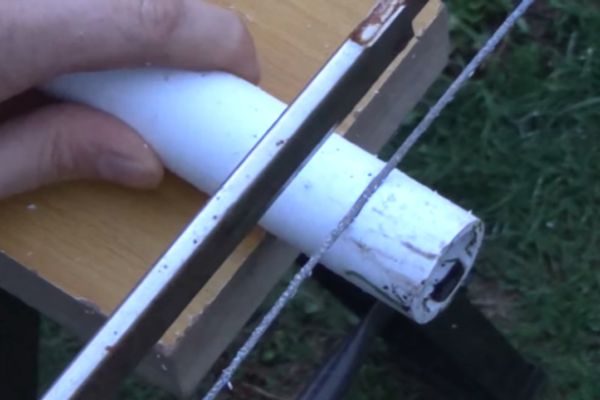
Use the hacksaw to cut the ends of the pipe. The angle of the cut will be at 38 degrees, and the cut should be towards each other. Take the help of any additional tools you have access to make the perfect cuts.
After the cuts, you should use sandpaper to finish the edges. Sand the cuts until you get the edges smooth. This is important because if the cuts are sharp, you might injure yourself while handling the bow.
Step 3: Work with the Fiberglass Rods
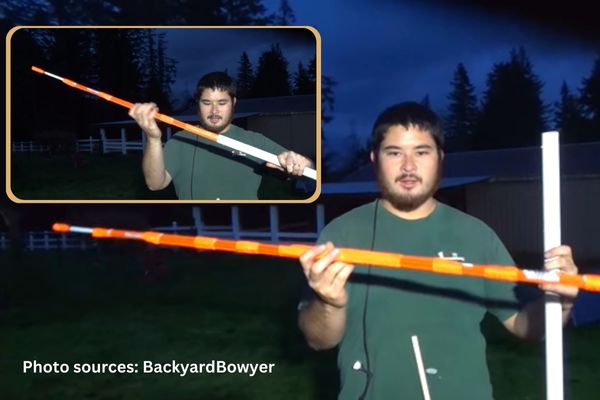
Get the two fiberglass rods and use the marker to put a mark at 1-1/8 inches away from the ends.
After marking, use duct tape to tape them together. Wrap the tape until only the marked portion is sticking out from both rods.
Afterward, you need to put the taped-out rods into the PVC pipe. Again, the marked ends should be sticking out of the rod.
You might have got small fiberglass rods if they are not sticking out. So, if that is the case, get properly-sized fiberglass rods and repeat the step.
Step 4: Focus on the Heater Hose
From the heater hose, you will need to cut two pieces that are about 1-inch. Again, you should use the hacksaw to work with the heater hose.
On each piece of the hose, punch a hole through the center. Use a tape measurer to determine the center of those pieces.
What are these holes for? Well, you should put each of the pieces through each end of the fiberglass rods. These pieces will protect the bowstring from getting split by the PVC ends.
In other words, these will ensure that you do not have to change the bowstring after using the bow each time.
Step 5: Put the String on the Bow
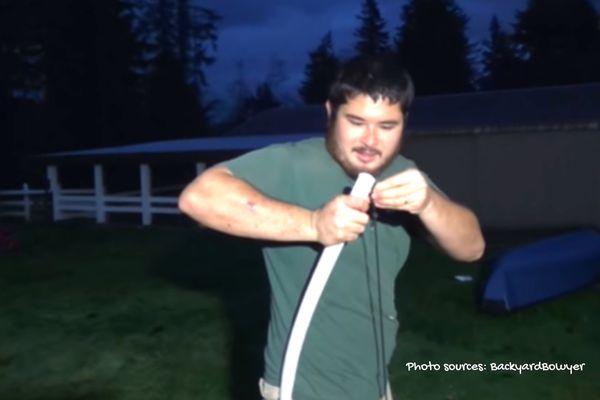
Place one of the ends of the bowstring over one of the ends of the rods. After putting that end in place, bend the PVC pipe slowly. While bending, slip one end to the other end of the fiberglass rod.
Here, if you are using paracord, you need to make sure that there is a knot on the ends. Otherwise, the paracord will start to fray when you draw the bow.
Step 6: Use the Medical Wrap
PVC pipes are generally slippery. So, it will be pretty tricky for you to draw the bow if there is nothing to enhance the grip.
Well, that is what the medical wrap is there for. It will provide a better grip surface and allow you to properly aim the bow.
Nonetheless, to wrap the bow, first mark the center of the PVC pipe with a black marker. Use the wrap to cover that spot.
Step 7: Mark the Spot Where You Will knock the Arrows
Use the black marker again to mark a spot on the middle of the bowstring. You would want to use a tape measurer for this because this spot will dictate the angle of the shots.
If it is too high, the arrows will naturally go downwards. On the other hand, if it is too high, your shots will be pretty off target.
Final Words
We hope that it is pretty evident that there is no need to go through complex steps to learn how to make a PVC longbow. Only the seven simple steps we have gone through above are more than enough. Nonetheless, double-check the measurements because having the right length on each component is crucial for the project.
Longbows Relevant Articles:

