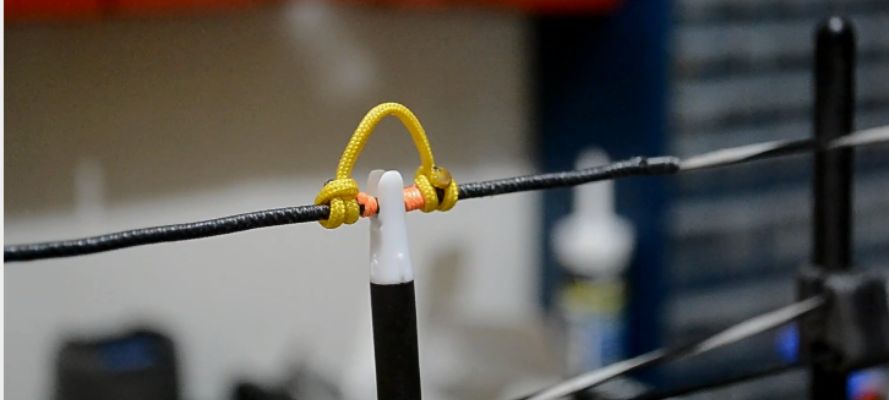
Tying a D-loop on your compound bow can be highly beneficial. The loop supports the arrow nock from both below and above. This helps to provide a consistent nocking point every time.
Still, a lot of people don’t tie these simply because they don’t know how. With this article, we intend to teach exactly how to tie a D-loop on compound bow.
So, stick with us if you want to learn this craft in a step-by-step procedure.
Table of Contents
What You’ll Need
The D-Loop is essentially a piece of cord tied to your compound bow. So, you won’t need advanced tools for this installation process. All you need is some simple items such as:
- A D-loop cord
- A bow square
- Lighter
- Something sharp such as a knife or a pair of scissors to cut the cord with
Tying A D-loop On Your Compound Bow in 4 Steps
In this section, we’ve broken down the process into smaller steps so you can tie the loop easily.
Find Where to Tie the Loop in
The most important step of this procedure is finding the right spot to tie the loop in. If there's any deviation, your experience will be completely ruined, even if the loop is perfectly tied.
So, start by attaching the clip of the square on the bowstring. You need to position this in a manner so that the ruler end of the square stays in line with the middle of the Berger hole. Mark this spot so you can recognize it easily and precisely.
If you don’t know where the Berger hole is, follow this instruction. Look for a small hole on the outer side of the bow’s frame. It should be close to the arrow and rest around the center of the bow.
Another thing to note here is that you must have a bow square to set this up properly. These aren’t expensive and easily available at any bow store. So, grab one of these already.
Cut the D-Loop Cord
D-Loop cords can be found in sports and archery shops. You can also buy these online. We recommend getting one of 100cm at least. You won’t need so much, but you won’t have to run to the store every time the loop needs a refresh.
Now, cut the cord at a length of 4.75 inches. Some people also cut them at 4.25 inches, but we recommend keeping them long as you’ll have some breathing space.
Use a sharp knife or scissors to cut the loop. Make the cuts as straight as possible.
Prepare the Ends of the Cord
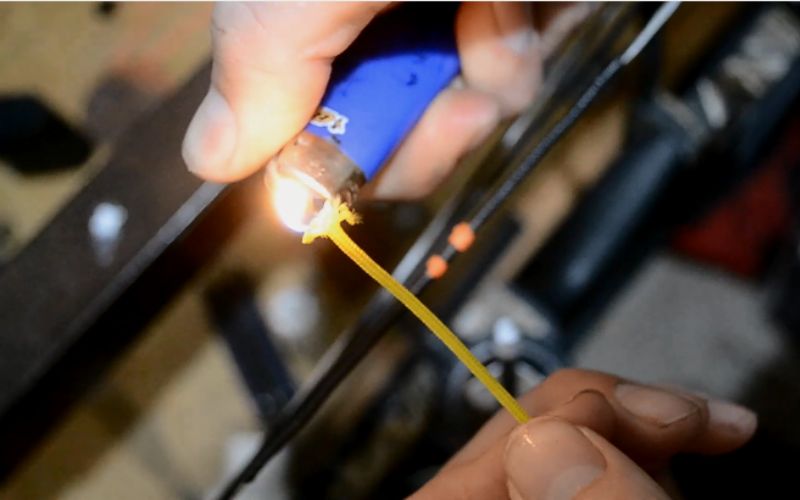
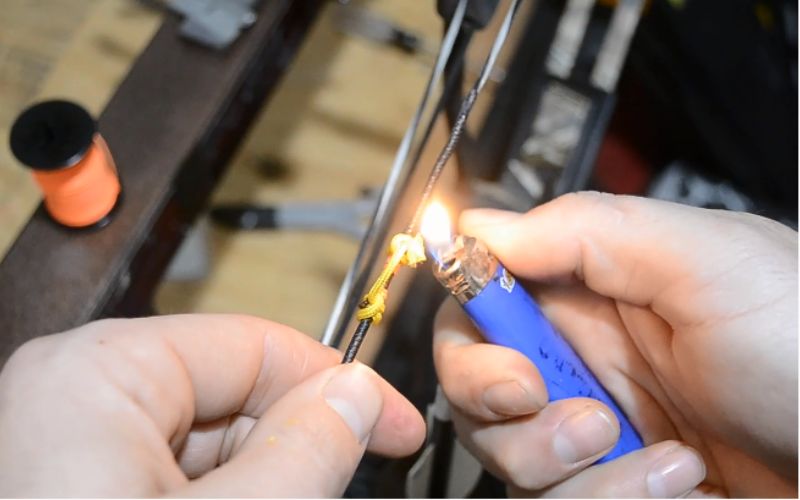
This step involves burning the ends of the cord to give them a rounded shape. Start by twirling the fibers with your fingers to spread them. Once they’re evenly spread, take a lighter and wave it under both ends, one at a time.
To make the roundness more definite, we recommend pressing the ends against the metal housing of the lighter. This will also help the ends solidify faster.
This process is essential as it’ll prevent the cord from fraying and slipping once it’s tied.

Tie the Cinch Knot
This step might be a bit challenging if you’re new to tying knots. We will try to simplify this by providing as much detail as possible.
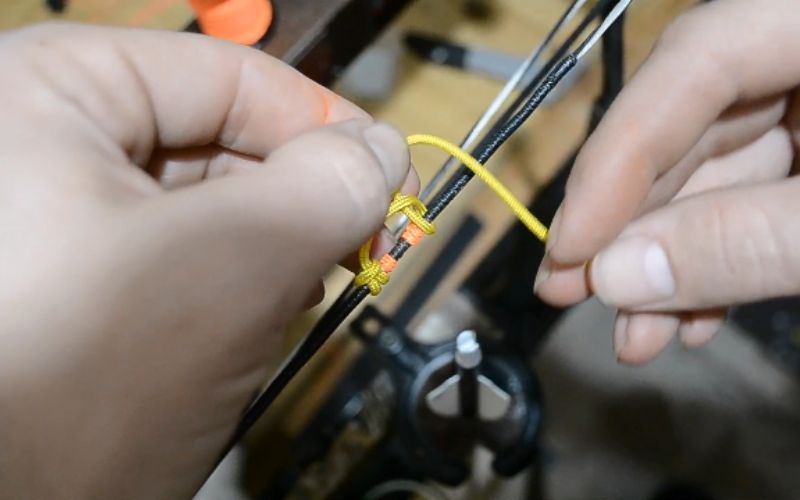
Start by bending the cord into a ‘D’ shape. While bending it, try to make the cord as symmetrical as possible. This means that the ends shouldn’t be much different in length and curve.
Hold the cord with the curvature facing towards you. Position it slightly above the riser. Now, take both ends through the loop, so they wrap around the bowstring. If done correctly, the loop will look like the word 'B.'

Afterward, take the bottom end and pull it slowly. It’ll choke the upper end. Doing it fast will result in the upper end slipping, so we recommend maintaining some caution.
Now, take the loose bottom end again and create another loop with it. Make sure the mushroom of this loop faces upwards to mirror the previous mushroom.

Once the cord is tied at both ends, take a hex wrench and tug the cord from the middle. This will tighten the D-loop properly. Then, crank the loops with D-loop pliers to make sure they aren’t slacking by any means.
While you can use other tools for this, we recommend D-loop pliers for a major reason. These come with extensions that let them hug the bowstring gently. So, they won't slip off or damage the strings when tightening the loop.
Conclusion
Since we thought you how to tie a D-loop, this should no longer be a problem for you. So, if you feel that your arrows could be much more consistent, you should hit the nearest shop, grab the required items, and tie a D-loop right away!
Links of Some Connected Articles You Can Also Read:

