If you are an archer or bowhunter, bowstringing or unstring is the fundamental skill to master over. That may require a specialized tool called a bow-stringer, or you can do without one if you have strong arms.
However, learning how to string recurve bow safely and easily require a bow-stringer.
You can seek guidance from experts or professional archers to set up your bow right to avoid any risk involved. But if you are more of a DIY enthusiast, you will find this article the most interesting one.
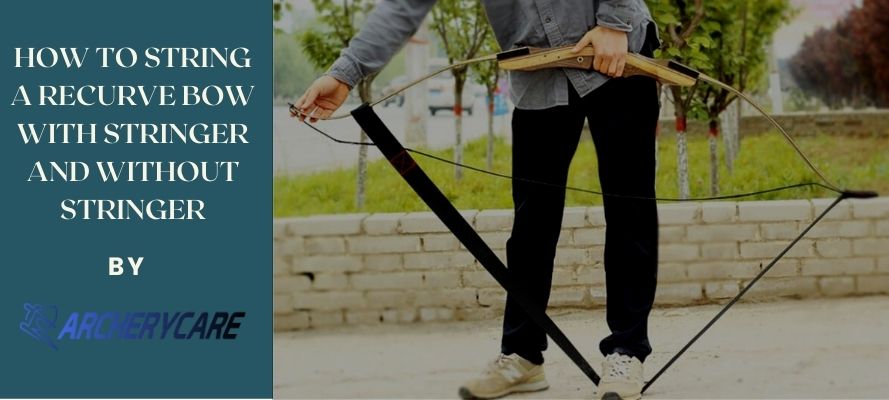
Here, we have covered how to string a recurve bow with a stringer and without a stringer separately. Not to stop here, we have covered everything related before and after the stringing. Read on.
Table of Contents
Get the Bow Ready for Stringing
Getting the bow ready for stringing is urgent for both methods. Whether you take the help of a bowstring or want to do it by bare hand, getting your bow ready for the task is a must.
To start with, inspect the limbs of the bow for cracks or warping. If either is found, do not attempt to string the bow. Next, place the bow on your left shoulder with the cheek facing out. Now, locate the top string loop that is a bit larger than the bottom string loop. Then, slide the top string loop down the upper limb, followed by placing the bottom loop into string grooves of the bottom limb.
These are the simple steps involved in getting a new bow ready and will make it easier to see what you are doing. Now that you have properly checked your bow, it’s time to start the stringing process.
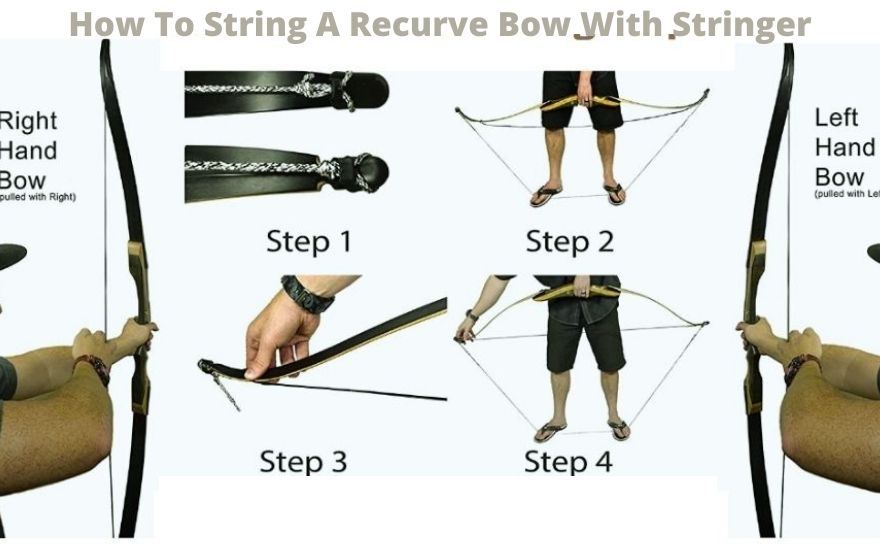
How To String A Recurve Bow With Stringer - 3 Steps
Stringing a recurve bow with a stringer can be done in three steps: 1) Loosen and remove the old string 2) Attach the new string 3) Tighten and tie off the new string. Before you start the process of stringing, it is important to choose a string that is appropriate for the bow. Once an appropriate string is chosen, you are good to go.
Step 1: Loosen And Remove The Old String
The first step is loosening and removing the old string that is currently strung on the recurve bow. You'll need to remove any old string that's attaching the bowstring to either end of the bow before you can create a new one.
The bowstring should be loose enough for you to put your hands around it. So, cut it to the appropriate length and then thread through the appropriate loops of the bow. You will need to pull it out of the nock and over the bowstring because there is not a hanging loop to hold the string.
Step 2: Attach The New String
Attaching the new string is the second step to string a recurve bow. To attach the new string, you will need to find the hole in the stringer. This hole is attached to the nose of the bow. You will need a flat item such as a piece of paper or an object with a flat edge.
The process of attaching the string to a recurve bow is very simple but can be easy to get wrong. You'll need 5 inches of loose string for each end of the bowstring. First, pull back one end of the string onto either side of the node on the bow's frame. Next, make sure that both pieces of string are pulled back until they meet at the other side of the node.
What if the old string is too damaged or if it was not previously fully attached to the bow? In this case, it is best to use the "double-loop method." This method involves making two loops at one end of the string and then attaching them together with one loop around each end of the bow.
Step 3: Tighten and Tie-off the New String
After you have found the hole, you will need to tighten the stringer. You will be tightening the string that is being used to attach the new string. Tightening and tying off the new string is the final step of stringing the bow.
To do so, start by placing one end of the string on the nocking point or shelf on the bowstring. Then, wrap the string around each limb until it is tight enough that it will not move significantly under tension. Finally, tie off to secure.

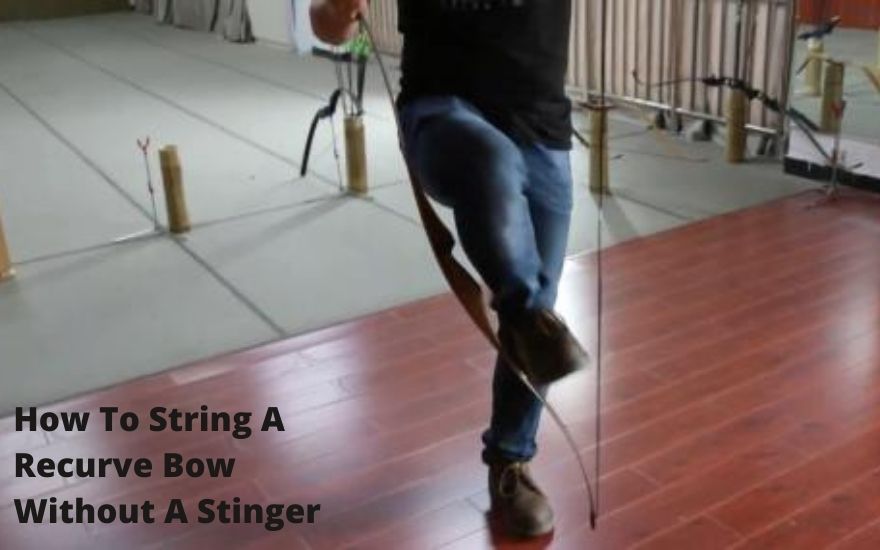
How To String A Recurve Bow Without A Stinger
A recurve bow can be strung without a string or by barely holding it by your hand. To string a recurve bow without a stringer, you should have at least one person to help you hold the ends of the bow while you place the front edge of the curved lower limb through the loop at the end of your fingers.
Before you start stringing by hand, the first step is to remove the attaching accessories on your bow. This includes things like trigger guards, arrow rests, and quivers. These will only get in the way of the bowstringing process by getting tangled up or preventing access to certain areas of the bow.
Now, it is time to land on the field, and you should always remember that stringing a bow by hand or without a stringer is possible but not an easy or funny task. It involves potential damage to both man and the machine – the archer and the bow. But informed preparation can reduce the risk to a nominal level.
Wearing heavy-duty boots and working shoes backed by heavy soles will be great to save you and shave the labor. Yes, equipping with heavy-duty footwear will keep the bottom limb of the bow in place as stringing involves the most tension.
Wearing an armed guard will protect you if and when the string snaps, and hand gloves will provide you with a good grip on top of being protective. Never forget to wear heavy textile denim or cotton clothes to cover your arms and legs.
Prepared thus, now try only a flexible and lightweight bow to string it two ways that include:
Method 1: Step-through Method
The step-through method is the most accepted way to string a bow without a stringer. First, tie one end of the string to the top of the handle near the middle of the bow's grip and pull it down an inch or two past the bottom limb. Next, tie the other end of the string to a sturdy object about four inches from either side of one limb.
Simplified, the process starts by placing the loop end of the bowstring over one foot, then placing the end of the loop on your other foot. Then, slide your arms through the loop and pull it tight before laying it on the ground behind you.
The majority of the time, stringing a bow without a stringer is an arduous task that can be done by some but not all. For those who find it difficult to string the bow without a stringer, the “step-through” method would be your best bet.
Method 2: Foot Bracing Method
Stringing a recurve bow without a stringer or with it is an art that requires both strength and patience. There are, of course, many different ways to string the bow and the foot bracing method is suitable for archers having huge arm strength.
Start with your feet planted firmly on either side of your recurve bow. Grasp the top of the looped string with one hand and pull it back towards yourself before placing it over your right shoulder.
You may find the method intriguing if you don't have strong arms as it is one of the most challenging methods that exists and requires specific skills. Despite the fact, go out to the archery range to try it out with your own equipment and you will get everything set up after several efforts.

Check if the Bow Strung Well or Loose
Stringing a bow can be tricky, even for experts. If you're not used to tuning recurve bow, this may be a tough task for you. So, a common question for archers is "How do I check if my string has gone right?" A good place to begin is by looking at the nocking point, where the string attaches to the arrow shaft.
It can be difficult to tell by eye, but there are some things you can look for. For instance, if your arrow is shot in a more horizontal direction, your string is likely too loose - arrows should fly vertically when shot from a high-quality bow.
That means it requires tightening, and it is a simple process of pulling on the loops at each end of the bowstring, usually with a piece of cloth or leather. You will find that a recurve bow string needs to be tightened periodically to keep it from stretching.
So, What is The Best Way to String Your Bow?
We are going to walk you through the steps described here to string your recurve bow. This process, with a bow-stringer, starts with loosening the old bowstring on the tips of your arrows, next removing the old bowstring from the bow, and then attaching the new one.
Once this is done, check to make sure it has been strung correctly by testing your bow's hold on your thumb. If it feels too tight or too loose, adjust accordingly before shooting your recurve bow.
Yes, you have found that recurve bows are quite tricky to string without a stringer or barely by hand. The process, without a bow-stringer, can be challenging but is not terribly complicated to abandon.
Please take note that if you are not comfortable with the steps for either method listed in this article or feel like you might break your bow, you should always consult with an expert before proceeding.
Read Related Posts:

