How to Make a Wood Longbow (A Realistic First Build)
Build a shootable 40 lb longbow from a hardware-store board. What wood to buy, how to read grain, and how tillering actually works.
By the Archery Care Editorial Team
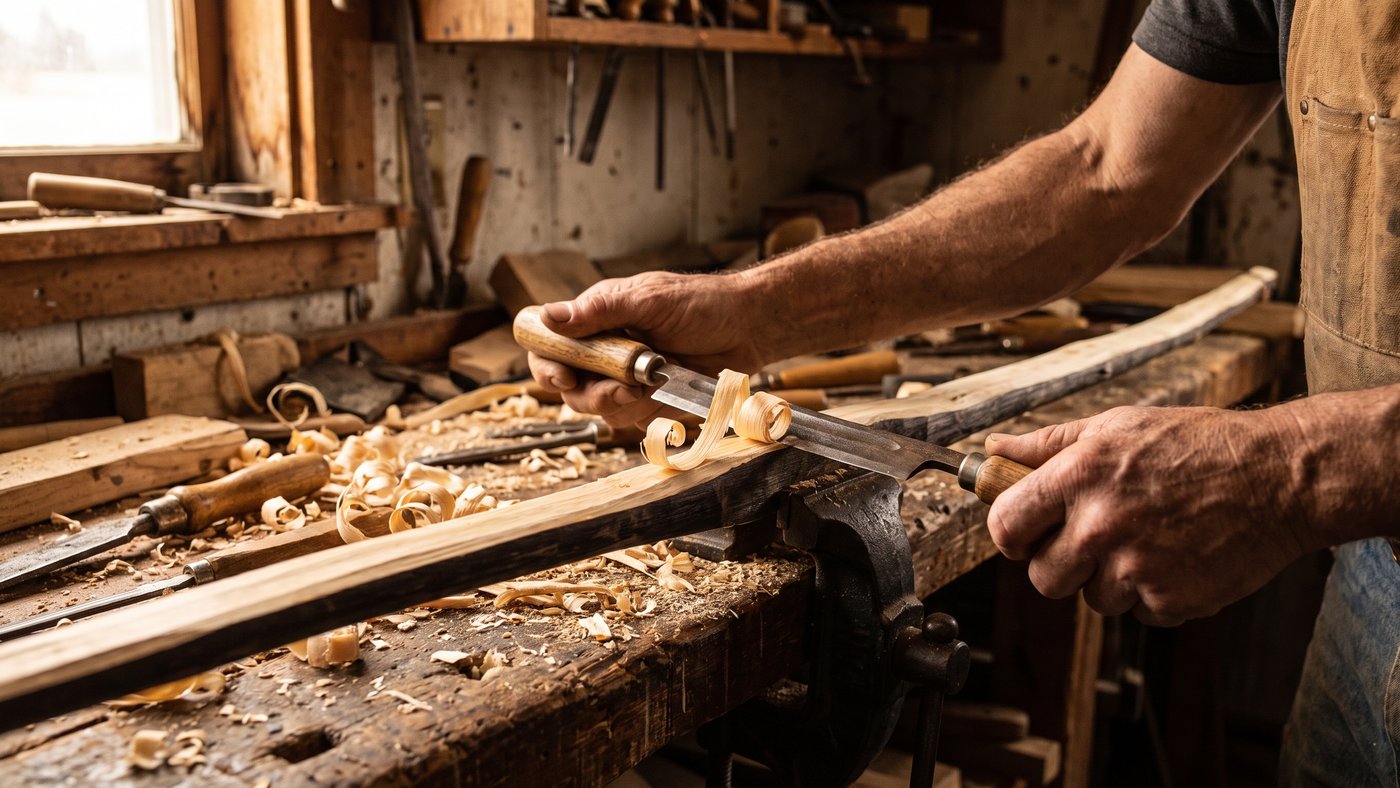
Your first bow should be a board bow — a longbow cut from a straight-grained plank rather than a split log. It costs about fifteen dollars, needs no drawknife, and teaches you the one skill that matters: tillering. Plenty of people make a shooter on the first try. Plenty also snap one, which is why you start cheap.
Budget a weekend. Aim for 35–45 lb at 28 inches — heavy enough to be a real bow, light enough that mistakes don't hurt.
- 1
Buy the right board
Red oak, hickory or maple, 1x2 inches by 6 feet, from any lumberyard. Hickory is the most forgiving; red oak is the most available.
Grain is the whole game. Look at the edge of the board and find growth lines that run the full length without cutting off the side — that's 'runout,' and it's where bows break. Sight down the board for straightness, reject anything with a knot in the middle third, and buy the plank whose lines run parallel to the edge for all six feet. Shops let you dig through the rack. Dig.
- 2
Lay out the bow
Mark the centre, then a 4-inch handle section (2 inches either side of centre). The limbs run from there to the tips.
Leave the handle full width and taper each limb from about 1.25 inches at the fade to 0.5 inches at the tip. Cut the profile with a coping saw or band saw, then clean the edges with a rasp. Keep the back of the bow — the face pointing away from you when you shoot — completely untouched. Never sand, cut or 'clean up' the back; a single severed grain line is a fracture waiting to happen.
- 3
Cut string nocks
Two inches from each tip, file a shallow groove on each side at roughly 45 degrees pointing toward the handle. A round chainsaw file or rat-tail file works.
Cut the nocks on the belly and sides only — never across the back. Deep enough to hold a string under tension, no deeper.
- 4
Tiller (the part that makes it a bow)
Tillering is removing wood from the belly until both limbs bend in an even arc. Skip it and you get a stick that breaks.
Start with a floor tiller: stand the bow on one tip, push down on the handle, and watch the bend. Stiff spots stay straight — scrape those with a cabinet scraper, a few strokes at a time. Then string it with a long 'tillering string' and pull it in stages on a tillering tree, stepping back to look at the curve every few inches of draw.
- Remove wood from the BELLY (the side facing you), never the back.
- Scrape a little, flex 20–30 times, look again. Wood removal is one-way.
- Chase an even arc — no flat spots, no hinges (a tight local bend that will break).
- Stop pulling the moment you reach your target weight on the scale, even if it looks pretty.
- Never draw the bow further than you have tillered it. That is how most first bows die.
- 5
Finish and brace
Sand to 220 grit, easing every edge — sharp corners concentrate stress. Seal with three coats of tung oil or polyurethane; bare wood takes on moisture and moving moisture changes draw weight.
Brace it around 6–7 inches from the belly to the string. Shoot it in gently, fifty arrows or so at short range, then re-check the tiller — new bows settle and often need a final touch-up.
- 6
A word about safety, honestly
A failing bow throws splinters at your face. Wear eye protection every time you flex it, keep bystanders out of the arc, and never draw past your tillered length to 'see what it does.' If you hear a tick or see a raised line across the back — that's a fret or a lifted splinter — stop and inspect. A cracked bow is firewood, not a project to rescue.