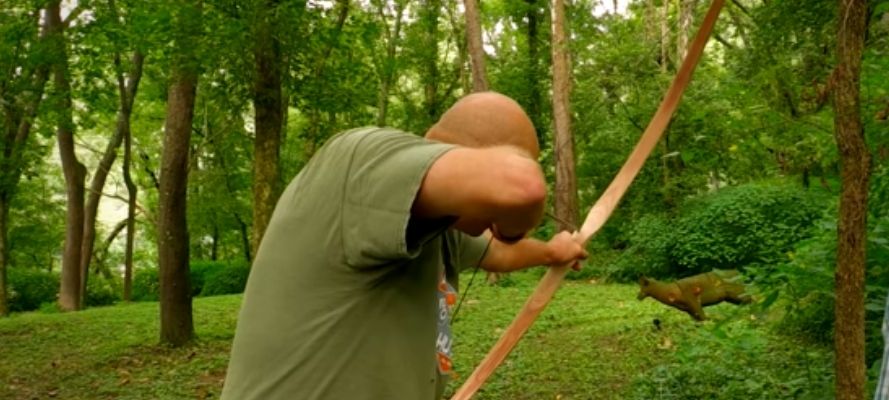
Yes, learning how to build a longbow out of wood is not all about finding a piece of wood and attaching a string to it. The process is not beyond the skills of an average DIYer. And the project can only be rewarding if you follow the proper steps on how to make a wood longbow.
So, which are the correct steps? That is exactly what we are here to tell you about!
We will go through the entire process and guide you with nothing but easy-to-follow steps.
Therefore, let us not keep you waiting and get right into the steps, shall we?
Table of Contents
8 Steps To Make A Longbow Out Of Wood
The entire process is all about putting the time and effort into perfecting each component. And if you follow these steps correctly, you can be assured that you will end up with a perfect DIY wooden longbow.
Step 1: Find the Right Wood Piece
So, the first step in the process would be to get the right piece of wood.
You need to keep one thing in mind. The stave needs to be sturdy and a little flexible at the same time. Also, make sure that the piece does not have too many knots or twists.
Now, when it comes to selecting wood for longbow making, you can opt for hardwood.
You will easily find this wood used to make longbows in home improvement stores.
Alternatively, you can rely on a tree branch.
On that note, ensure that the stave is about five to six feet long and is 1.5 inches to 2 inches in diameter.
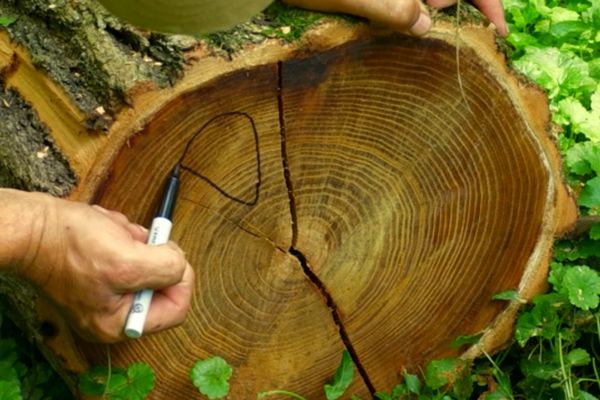
That said, if you are using a branch from the tree, use a pocket knife and get the barks out. Pretty much any sharp blade should do the trick.
But while you are carving, use short and shallow strokes in order to scrape away all the bark. And try your level best at keeping the wood beneath the bark in place.
Step 2: Find the Natural Curve of the Stave
Hold the stave upright and get a loose grip on the top. Set the bottom against your foot. Then, gently press outward.
You will be pressing against the center of the piece of wood.
The stave should start to rotate, and its natural curve will point directly towards you.
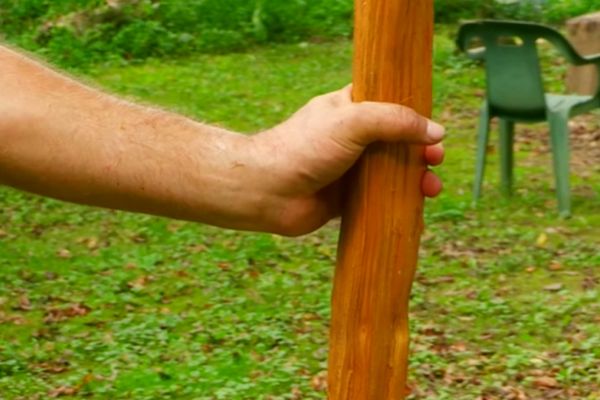
But what is the point of finding the natural curve of the wood? It will let you know about the back and belly of the stave that is soon to become a bow.
Step 3: Mark the Handhold Directly on the Center
Find the middle of the stave and mark two points that are opposite to the center. These points will be 3 inches away from the center of the stave. And it would surely be a good idea to get a tape measurer for this step.
After marking the points, bend the stave to double-check the markings. Also, during double-checking the bend, see if any part of the wood is not flexing easily or not. If you find such spots, get yourself a knife or other sharp blade and shave away a few layers of the wood.
By removing the layers of bark, you will make the area less stiff, which will enable it to flex easily.
That said, when cutting the wood, ensure you leave the outside of the bow untouched.
Instead, you should only cut the wood from the inside portion of the curve.
The tips and handhold should stay relatively straight in comparison to the rest of the bow. When it comes to the amount of carving, it will depend on the thickness of the stave.
Step 4: Work with the Notches
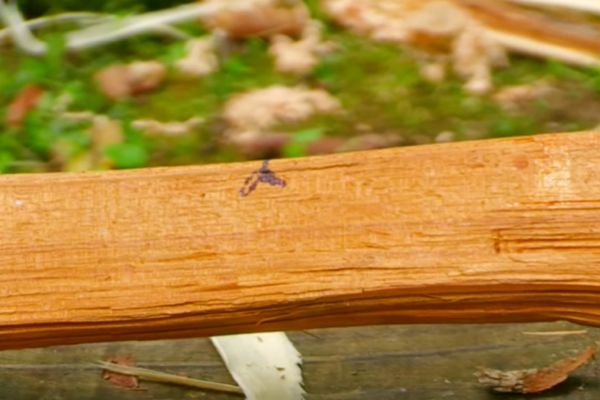
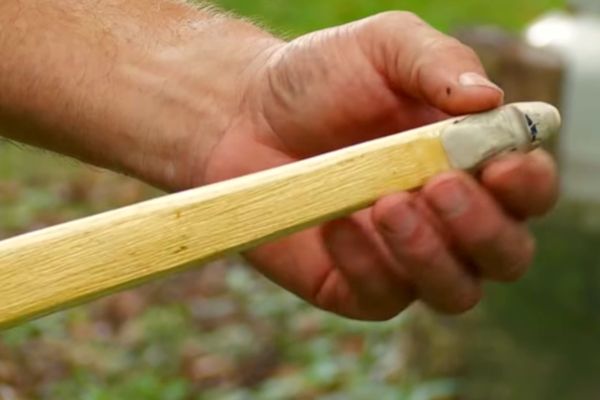
Now, you should cut the notches on the outside and inside of the bow tips. These notches will hold the string stable.
So, ensure that the notches on the outside are not deeper than 0.25 inches.
Also, consider that these notches will be about 0.5 inches to 1 inch from the tip.
Step 5: Tie the String
Afterwards, you will need to tie your chosen string to the notches. The bowstring should be about 8 inches shorter than the length of the stave. For example, if the wooden piece is 6 feet tall, the string should be 5 feet 4 inches in length.
Getting the right string length is pretty crucial. So, measure twice before cutting the line.
Nonetheless, when it comes to tying the string, you will need to first one of the ends to the bottom of the slave. For the other one, you will need to tie a slip knot.
Flex the stave up until the point the slipknot is over the notches at the top of the bow.
Once the string is in place, you should notice a gap of about 5 to 6 inches between the line and the handhold.
However, you should choose a different string if the gap is substantially larger or smaller.
Getting an actual bowstring from an archery shop would be a good idea. They will not cost much.
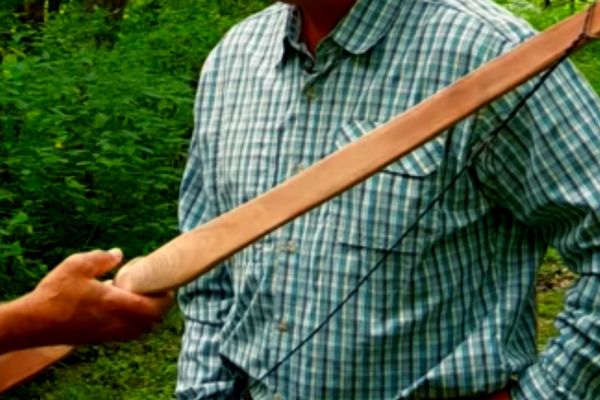
Alternatively, you can use durable strings, such as a long shoestring and nylon paracord. These should be strong and flexible enough for the longbow.
But, do not stretch the string yet. The bow can break as it is not completely ready yet. Another option is to make a longbow string by yourself. Check This guide to do it yourself!
Step 6: Hand the Bow
In this step, you will be aiming to rest the bow on the handhold. It should be in the center. You should hang the bow right above your head height. Ensure that it is well within your reach.
While hanging, make sure that the string is perpendicular to the ground. But what do you hang the bow onto?
Well, you can use a bicycle hook. Screw that into the roof and hang the bow there.
But if you are out in the wild, you can use the trunk of the trees, which will require you to do some climbing.
Step 7: Pull Down the Bowstring
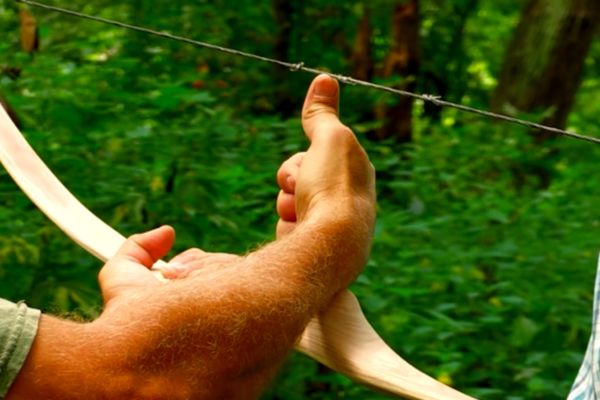
To finetune the bend, you must pull the string to about 3 to 4 inches. While pulling, check the curve of the bow. If there are spots that are not bending freely, do not pull down the string further.
Mark that spot and shave away some wood from the area. Repeat the process until the bow is bending correctly and freely.
Step 8: Finishing Touches (Optional)
In order to make your bow look good and last longer, you can apply a thin coat of protective oil to the surface of the wood. Also, you can finetune the finish of the wood by rubbing it with fine sandpaper.
Final Words
See, it takes a little time and effort to learn how to make a wood longbow. And we hope that it is clear at this point that you do not need to be a master in DIY to make your own wood longbow.
All you need to do is follow the steps mentioned above correctly, and you should end up with a proper handmade longbow. Happy shooting!
Read Next:

